# Multiple Comment System Supportcomments:# Available values: tabs | buttonsstyle:tabs# Choose a comment system to be displayed by default.# Available values: changyan | disqus | disqusjs | facebook_comments_plugin | gitalk | livere | valine | vkontakteactive:# Setting `true` means remembering the comment system selected by the visitor.storage:true# Modify texts or order for any navs, here are some examples.nav:#disqus:# text: Load Disqus# order: -1#facebook_comments_plugin:# text: <i class="fa fa-facebook-official" aria-hidden="true"></i> facebook#gitalk:# order: -2
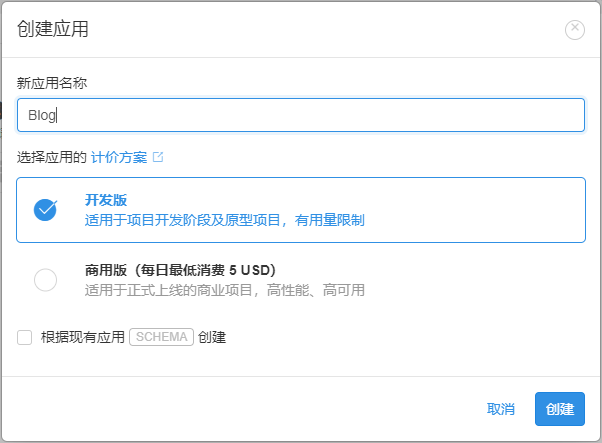
选择「I want to install Disqus on my site」,就会跳转到信息设定页面。在信息设定页面,设定你的网站名称,比如我在这里填写的是「guanqr」,那么「guanqr」就是你的一个 shortname,记住这个名字。相应的,你的聊天系统的控制台对应的网址就是 guanqr.disqus.com。你还需要在这里填写你的网站类别和语言,这里我填写的是技术类「Tech」,语言是中文。
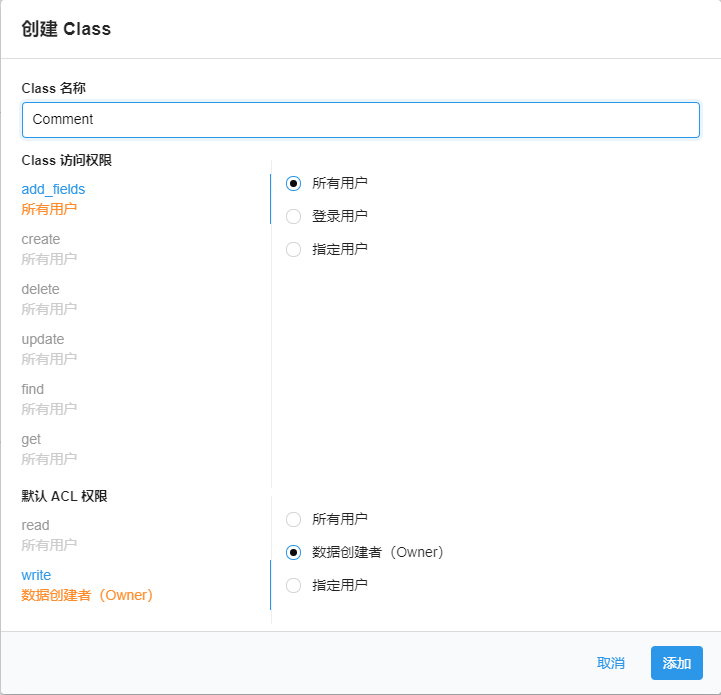
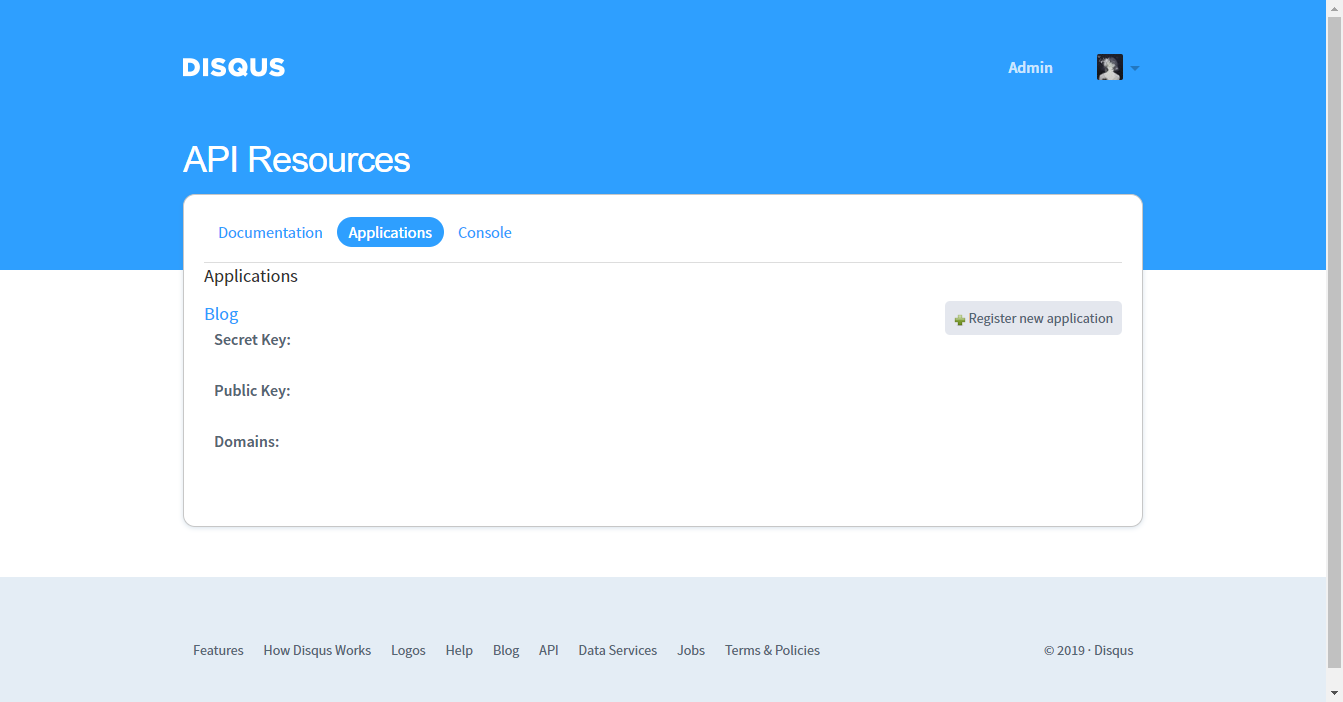
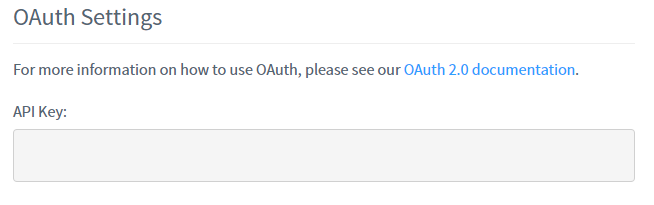
配置 DisqusJS 的时候,首先要到 Disqus API Application 处注册一个 Application,如下图所示,点击右边的「Register new application」。
然后进行网站的基本信息设定,将信息提交后,网站会提供给你一个 API Key,将这一长串字符记下来。
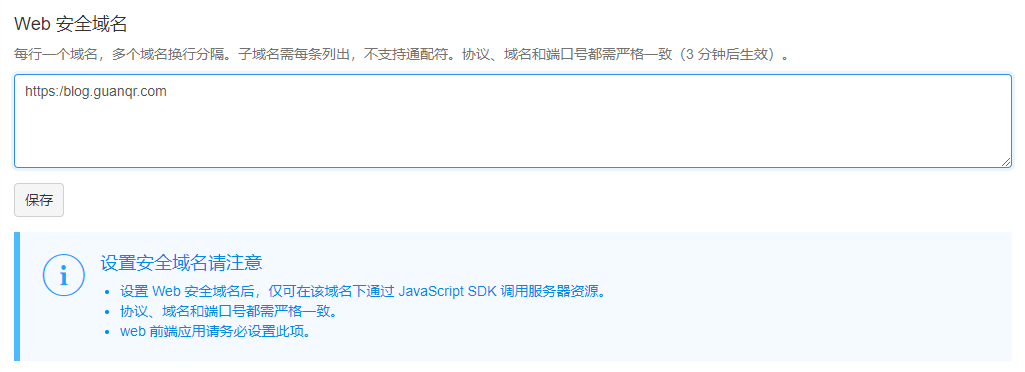
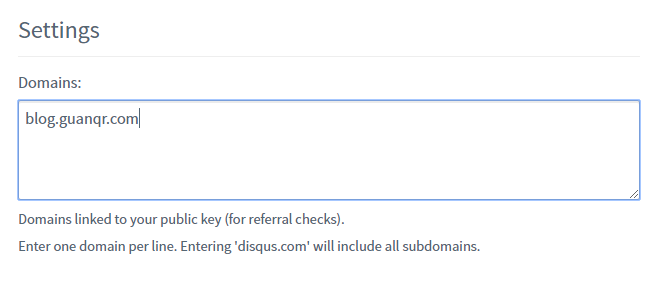
进入 [Settings] 页面,设置你的域名,Disqus 会检查 API 请求的 Referrer。
在这些都设定完成后,回到主题配置文件,进行 DisqusJS 的配置。开启 DisqusJS,这里的 api 是 DisqusJS 请求的 API Endpoint,通常情况下你应该配置一个 Disqus API 的反代并填入反代的地址。你也可以直接使用 Disqus 官方 API 的 Endpoint:https://disqus.com/api/。如果不填写,则默认为该插件的作者自己搭建的 Disqus API 反代 Endpoint:https://disqus.skk.moe/disqus/。apikey 就是上文中让你记下的那一串字符。shortname 即上文配置 Disqus 评论系统时记下的网站名称。
1
2
3
4
5
6
7
8
9
10
11
12
13
14
# DisqusJS# Alternative Disqus - Render comment component using Disqus API.# Demo: https://suka.js.org/DisqusJS/# For more information: https://github.com/SukkaW/DisqusJSdisqusjs:enable:true# API Endpoint of Disqus API (https://disqus.com/api/).# Leave api empty if you are able to connect to Disqus API.# Otherwise you need a reverse proxy for Disqus API.# For example:# api: https://disqus.skk.moe/disqus/api:apikey:# Register new application from https://disqus.com/api/applications/shortname: # See:https://disqus.com/admin/settings/general/
# Valine# You can get your appid and appkey from https://leancloud.cn# For more information: https://valine.js.org, https://github.com/xCss/Valinevaline:enable:true# When enable is set to be true, leancloud_visitors is recommended to be closed for the re-initialization problem within different leancloud adk versionappid:# Your leancloud application appidappkey:# Your leancloud application appkeynotify: false # Mail notifier. See:https://github.com/xCss/Valine/wikiverify:false# Verification codeplaceholder:Just go go# Comment box placeholderavatar:mm# Gravatar styleguest_info:nick,mail,link# Custom comment headerpageSize:10# Pagination sizelanguage: # Language, available values:en, zh-cnvisitor:false# leancloud-counter-security is not supported for now. When visitor is set to be true, appid and appkey are recommended to be the same as leancloud_visitors' for counter compatibility. Article reading statistic https://valine.js.org/visitor.htmlcomment_count:true# If false, comment count will only be displayed in post page, not in home pagerecordIP:false# Whether to record the commenter IPserverURLs:# When the custom domain name is enabled, fill it in here (it will be detected automatically by default, no need to fill in)#post_meta_order: 0
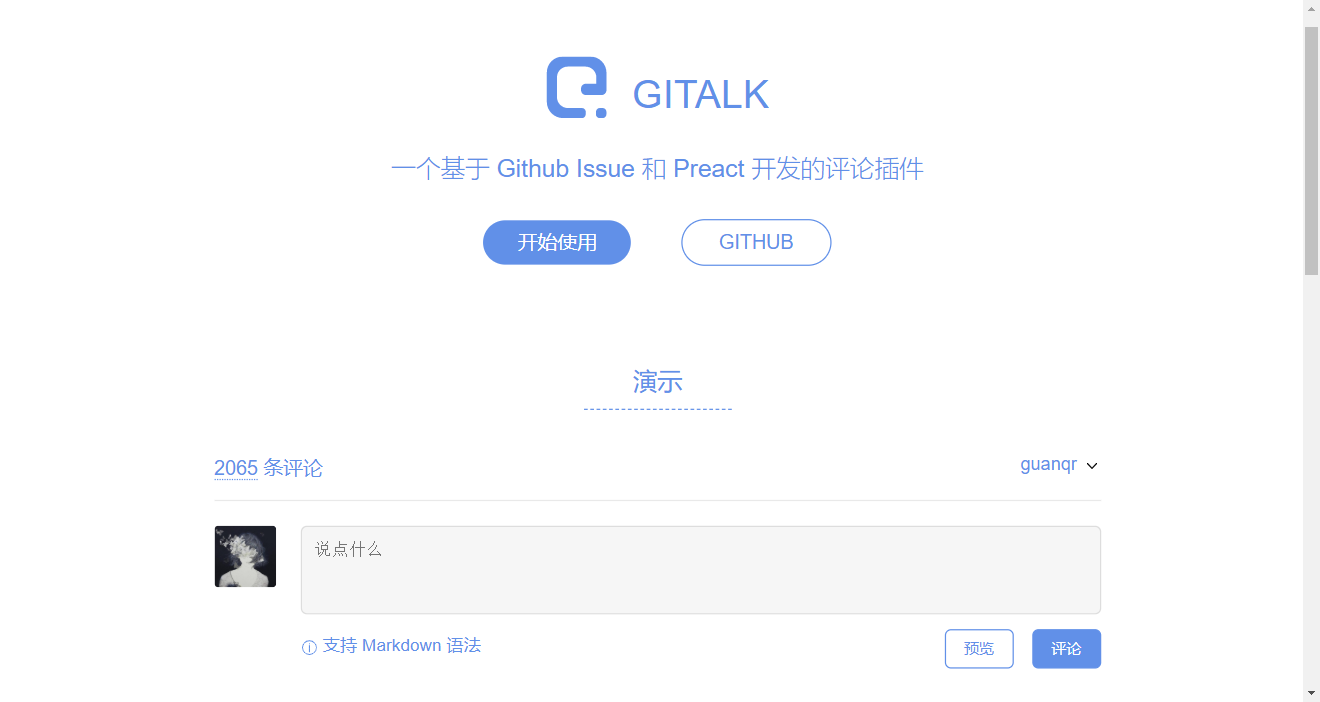
# Gitalk# Demo: https://gitalk.github.io# For more information: https://github.com/gitalk/gitalkgitalk:enable:truegithub_id:# GitHub repo ownerrepo:# Repository name to store issuesclient_id:# GitHub Application Client IDclient_secret:# GitHub Application Client Secretadmin_user:# GitHub repo owner and collaborators, only these guys can initialize gitHub issuesdistraction_free_mode:true# Facebook-like distraction free mode# Gitalk's display language depends on user's browser or system environment# If you want everyone visiting your site to see a uniform language, you can set a force language value# Available values: en | es-ES | fr | ru | zh-CN | zh-TWlanguage:
utteranc:enable:truerepo:#Github repo such as :TrumanDu/commentspathname:pathname# theme: github-light,github-dark,github-dark-orangetheme:github-lightcdn:https://utteranc.es/client.js# If you want to modify priority, please config in **hexo**#priority:
 ※ Disqus 官网主页
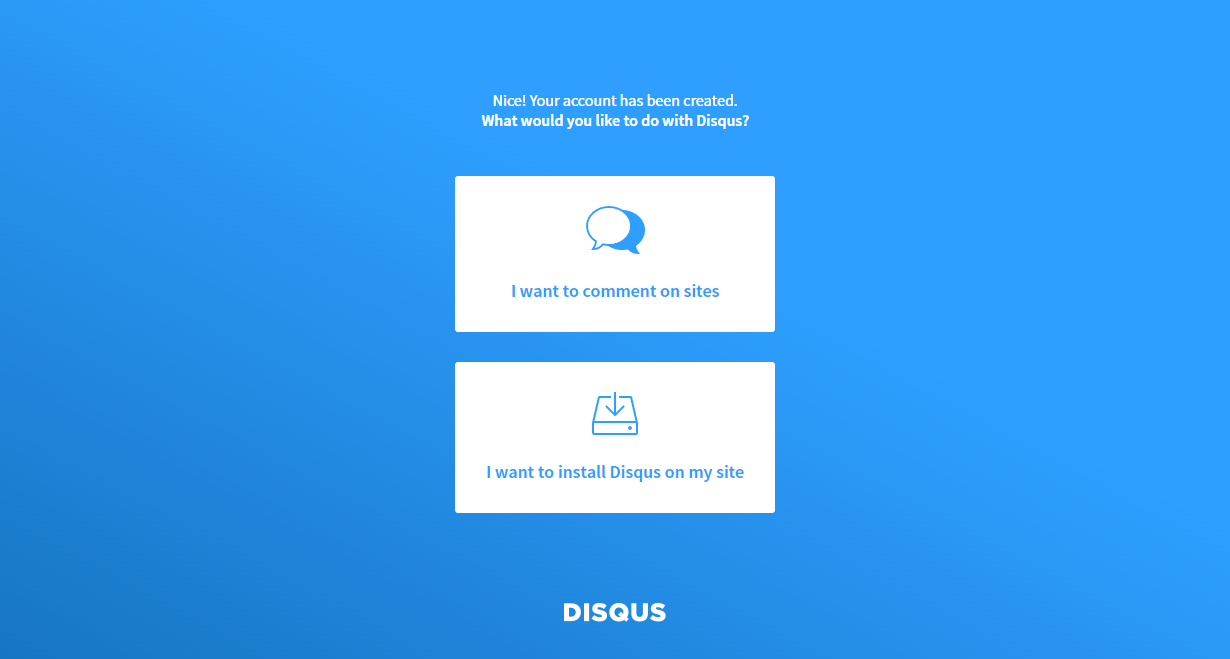

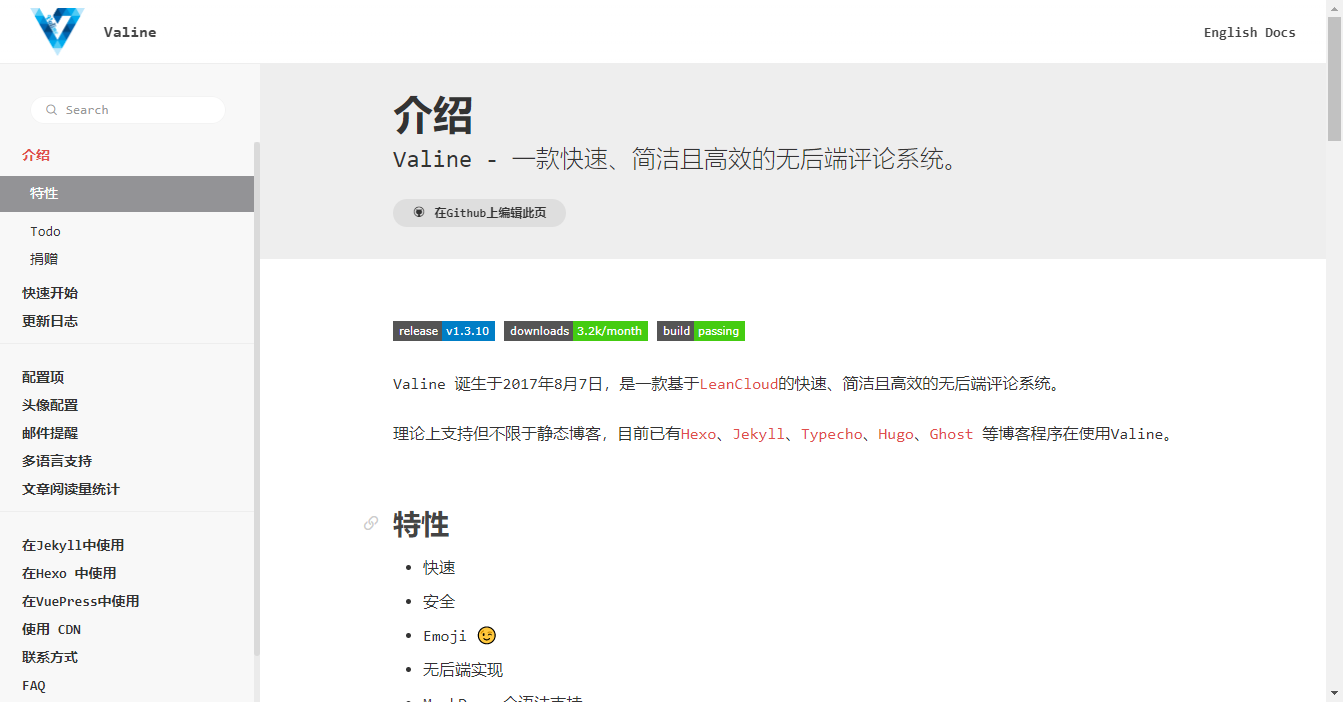 ※ Valine 官方主页